Are you considering giving your home a fresh coat of paint? If so, then it’s important to understand the value of proper exterior painting preparation. Without this step, you may find yourself dealing with peeling or fading paint soon after the job is finished. That’s why Gateway Custom Painting, an experienced residential painting company in St. Louis MO, emphasizes the importance of properly preparing your home before applying any new coats of paint.
Read on to discover how to best prepare your home’s exterior before painting so that you can get the most out of your investment.
Inspection and Repair
Taking care of inspection and repairs before starting the exterior painting process will ensure that you address any potential issues upfront, which can help improve the longevity and appearance of your paint job. Some key steps to follow include inspecting for damage, repairing or replacing materials as needed, and caulking gaps to prevent moisture penetration.
Cleaning the Exterior Surface
Cleaning the exterior surface of a home is essential for proper exterior painting preparation. Pressure washing can help remove dirt, mildew, and other contaminants from the exterior surfaces. Pressure washing also ensures that the paint adheres properly to the surface for a more long-lasting finish. For stubborn stains or mold on brick walls or wood siding, using appropriate cleaning solutions can help remove those more difficult stains.
To ensure optimal results, it’s best to wait until after pressure washing and cleaning to apply the paint so that there is no residue left on the surface that could cause problems with adhesion.

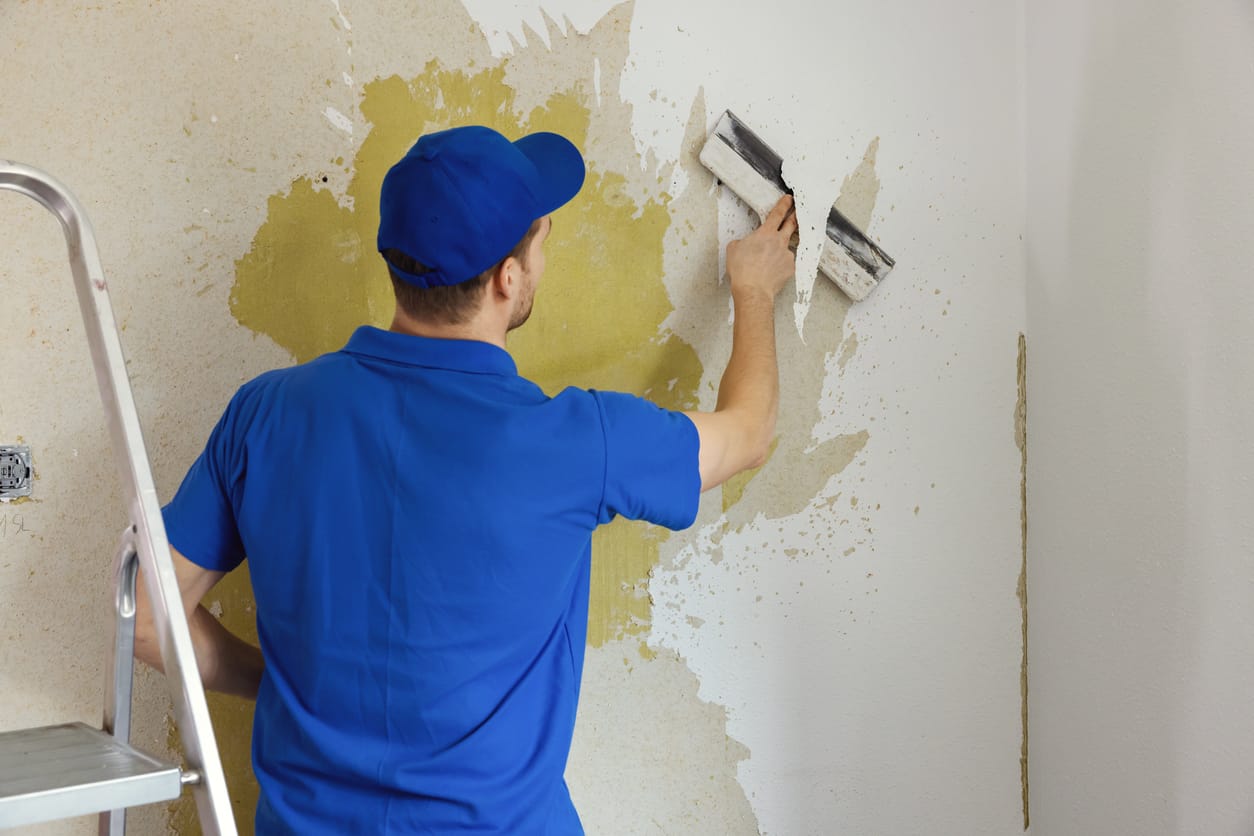
Removing Loose or Peeling Paint
It can be challenging to remove paint from brick, but it is doable with the correct tools and methods. You can restore your interior walls or fireplaces to their original condition. Tackle any loose or peeling paint before you start to paint your home’s exterior. Follow these three steps to remove old paint from brick surfaces:
Priming the Surface
Priming the surface of your home is an important step in the exterior painting process to ensure optimal adhesion and durability. Primers help seal off porous materials, providing a uniform surface for the paint to adhere to, as well as protecting against moisture infiltration, which can have detrimental effects on paint finishes over time.
When selecting a primer for your home’s exterior material, make sure you choose one that is designed specifically for that surface type. For instance, if you are planning to paint wood siding, opt for a wood-specific primer such as latex primer or shellac-based primer. If you will be painting masonry surfaces like brick or stucco, use an acrylic cement-based primer instead.
Once you’ve selected an appropriate primer, it’s important to apply it properly in order to get the best results. If there are any bare or repaired areas on the surface of your home that need priming prior to painting them with new color, make sure to prime those spots first. Additionally, if desired, you can apply a coat of primer over the entire surface before beginning with color coats. This will help create a more even base for the finish color and extend the life of your new paint job overall.
Planning for Weather Conditions
Weather conditions are an important factor to consider when planning any painting project, especially exterior painting. When the weather is too extreme, a variety of issues can arise, including inadequate drying times, swirling wind kicking up dust and debris, and paint that takes longer to dry and may not adhere properly.
For best results while painting outdoors, it is important to check the weather forecast ahead of time and schedule your painting project for optimal conditions. This includes avoiding extreme temperatures (such as below 40°F or above 90°F for most coatings), high humidity levels (over 80% relative humidity), or very windy days.
Additionally, ensure that you allow sufficient drying time for the surface between each step in the preparation process—from cleaning to priming to painting—to ensure proper adhesion of each layer. With the right planning and preparation work ahead of time, you can have confidence knowing that end results will be beautiful, professional-looking finish that looks like it was done by an experienced painting contractor.
Top-Quality Exterior Painting Services with Gateway Custom Painting
Having a professional painting contractor like Gateway Custom Painting on your side can help ensure that all of the steps necessary for properly preparing your home’s exterior are taken. We’ll inspect, repair, clean and prime the surfaces to create an ideal base for paint adhesion.
We serve the Greater St. Louis including Chesterfield, St Charles, St Peters and other surrounding suburbs in the area. If you’re ready to start planning for your next exterior painting project with us or just want a free estimate — call us at (314) 350-6377 and head over to our Google page to see what our past customers have to say about us.


